
Updating the Sun Room | Home Renovations
Did you know..? We bought a house! If you've seen the “before” post which was the start of my renovations content, you'll know that it’s in pretty rough shape. As we've decided (mostly for financial reasons) to do the majority of the work ourselves, we decided the best place to start was the sun room - a.k.a. the playroom. So, here’s how it went.

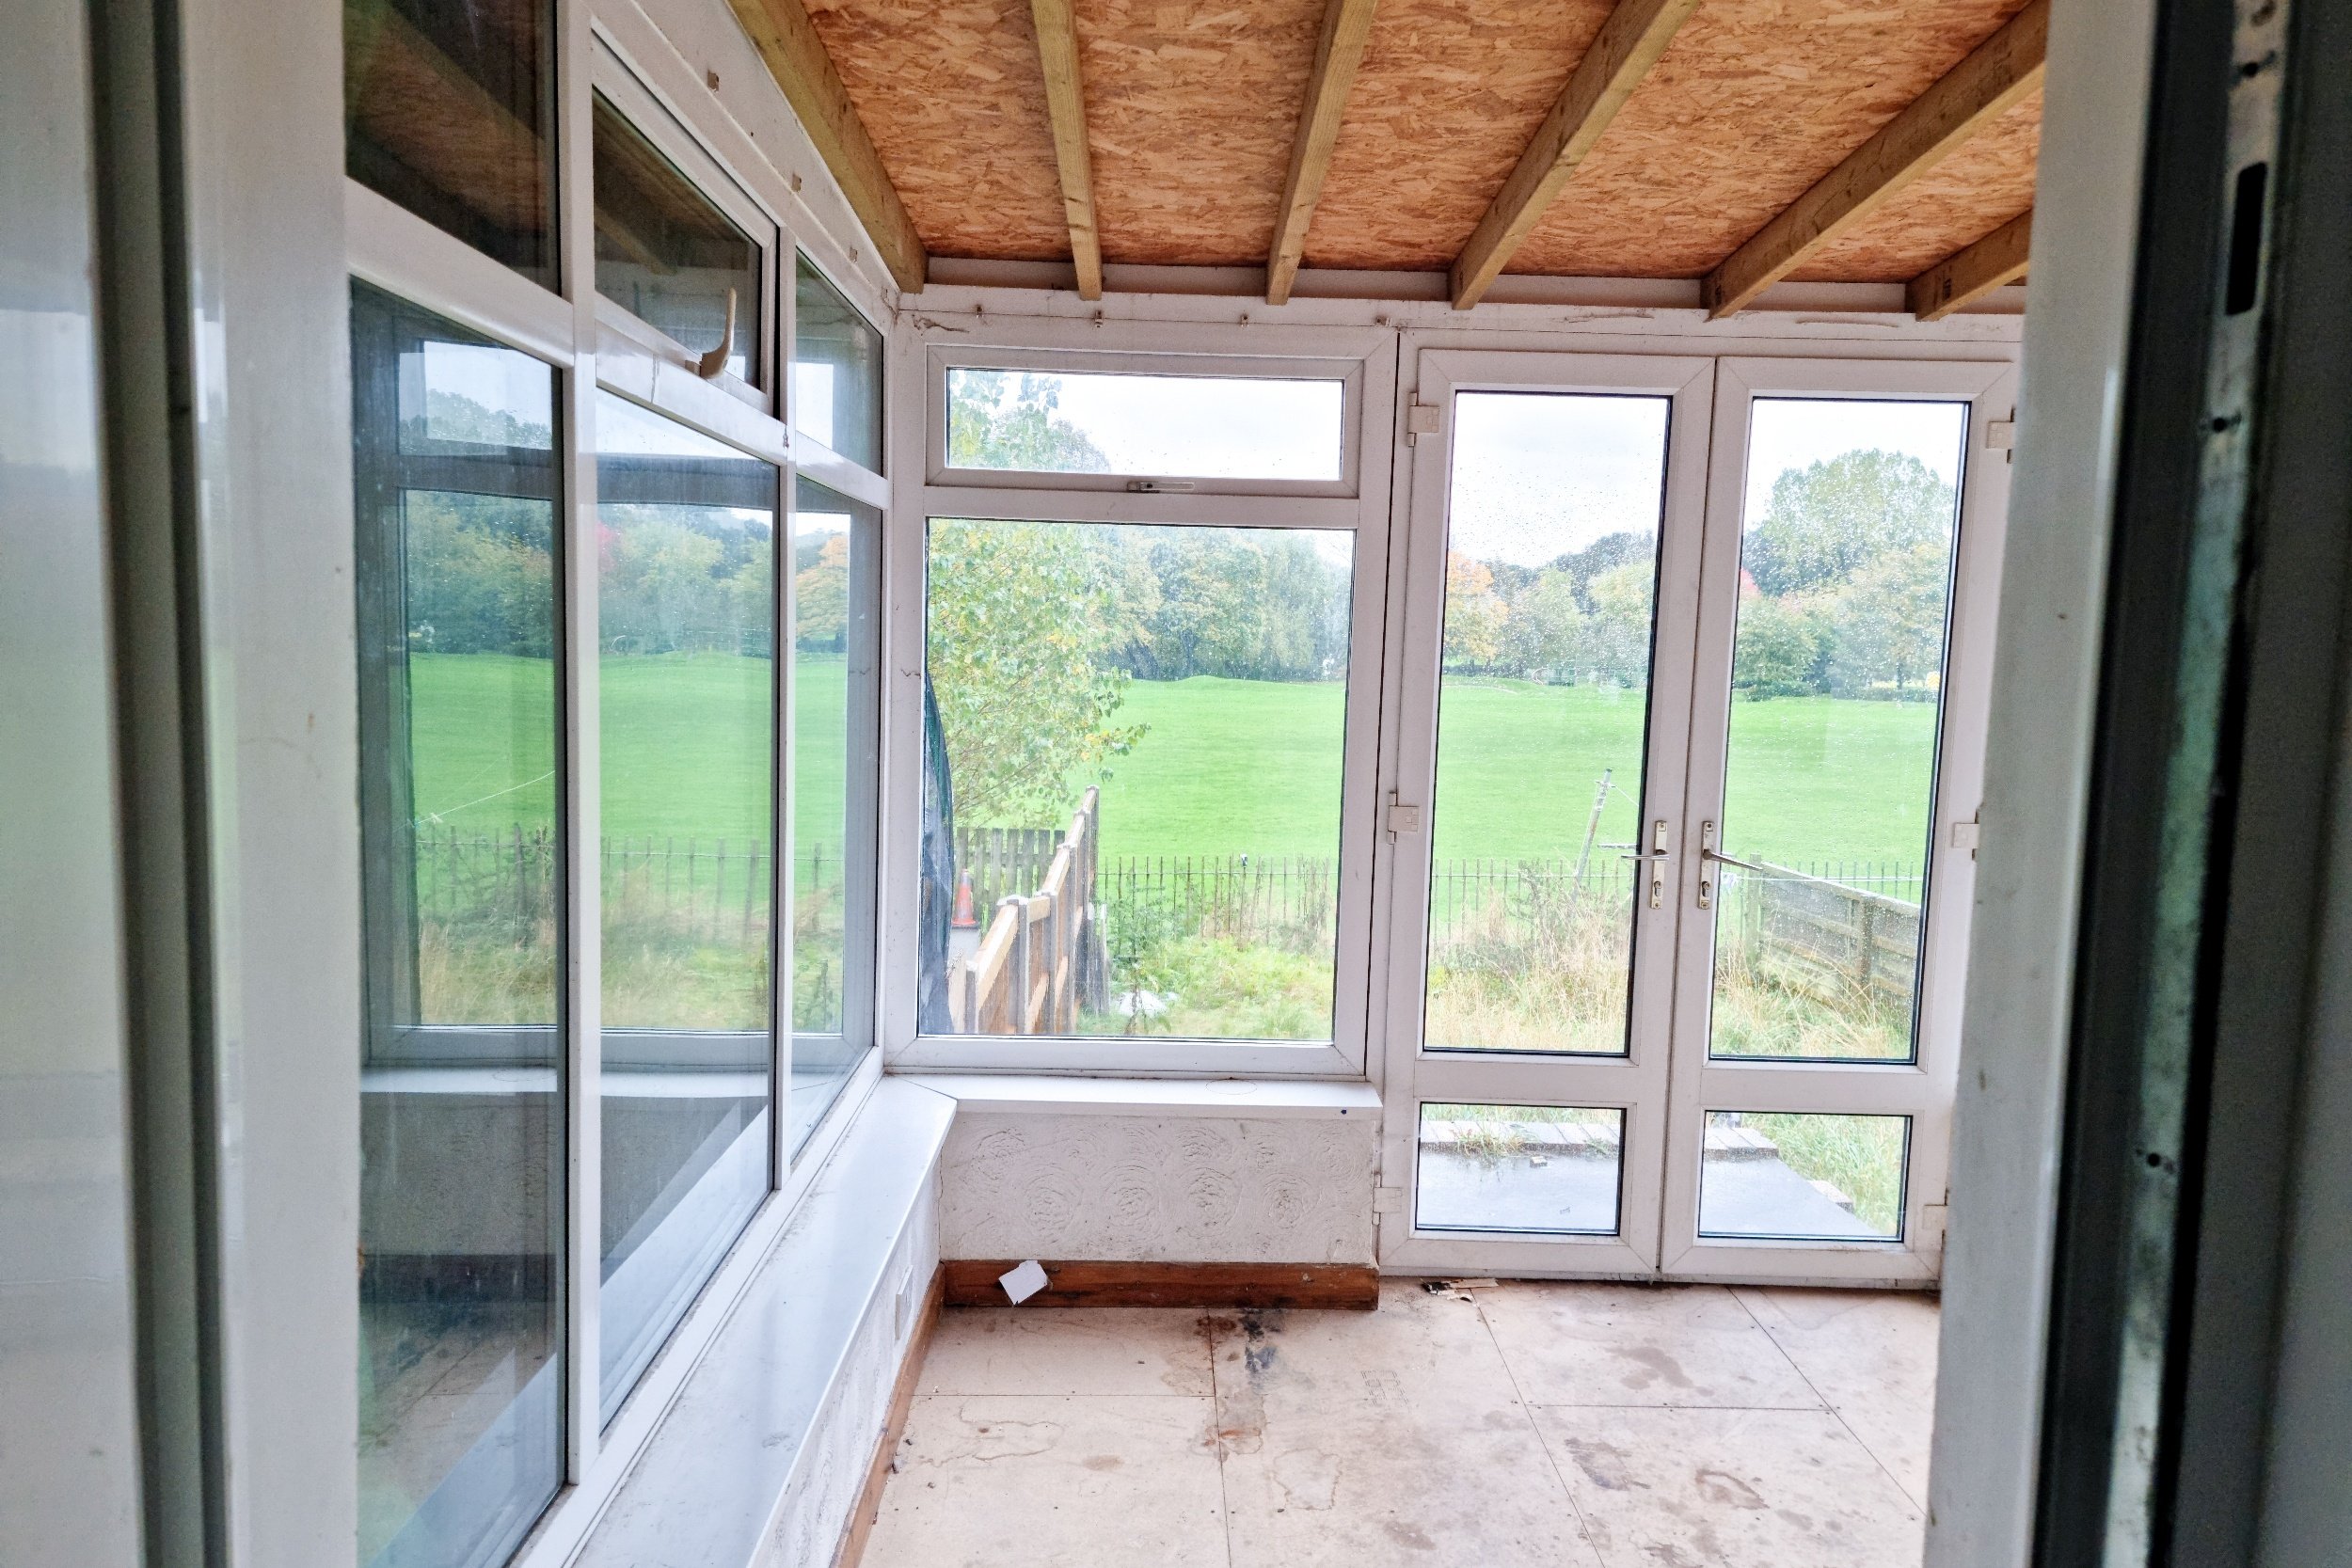
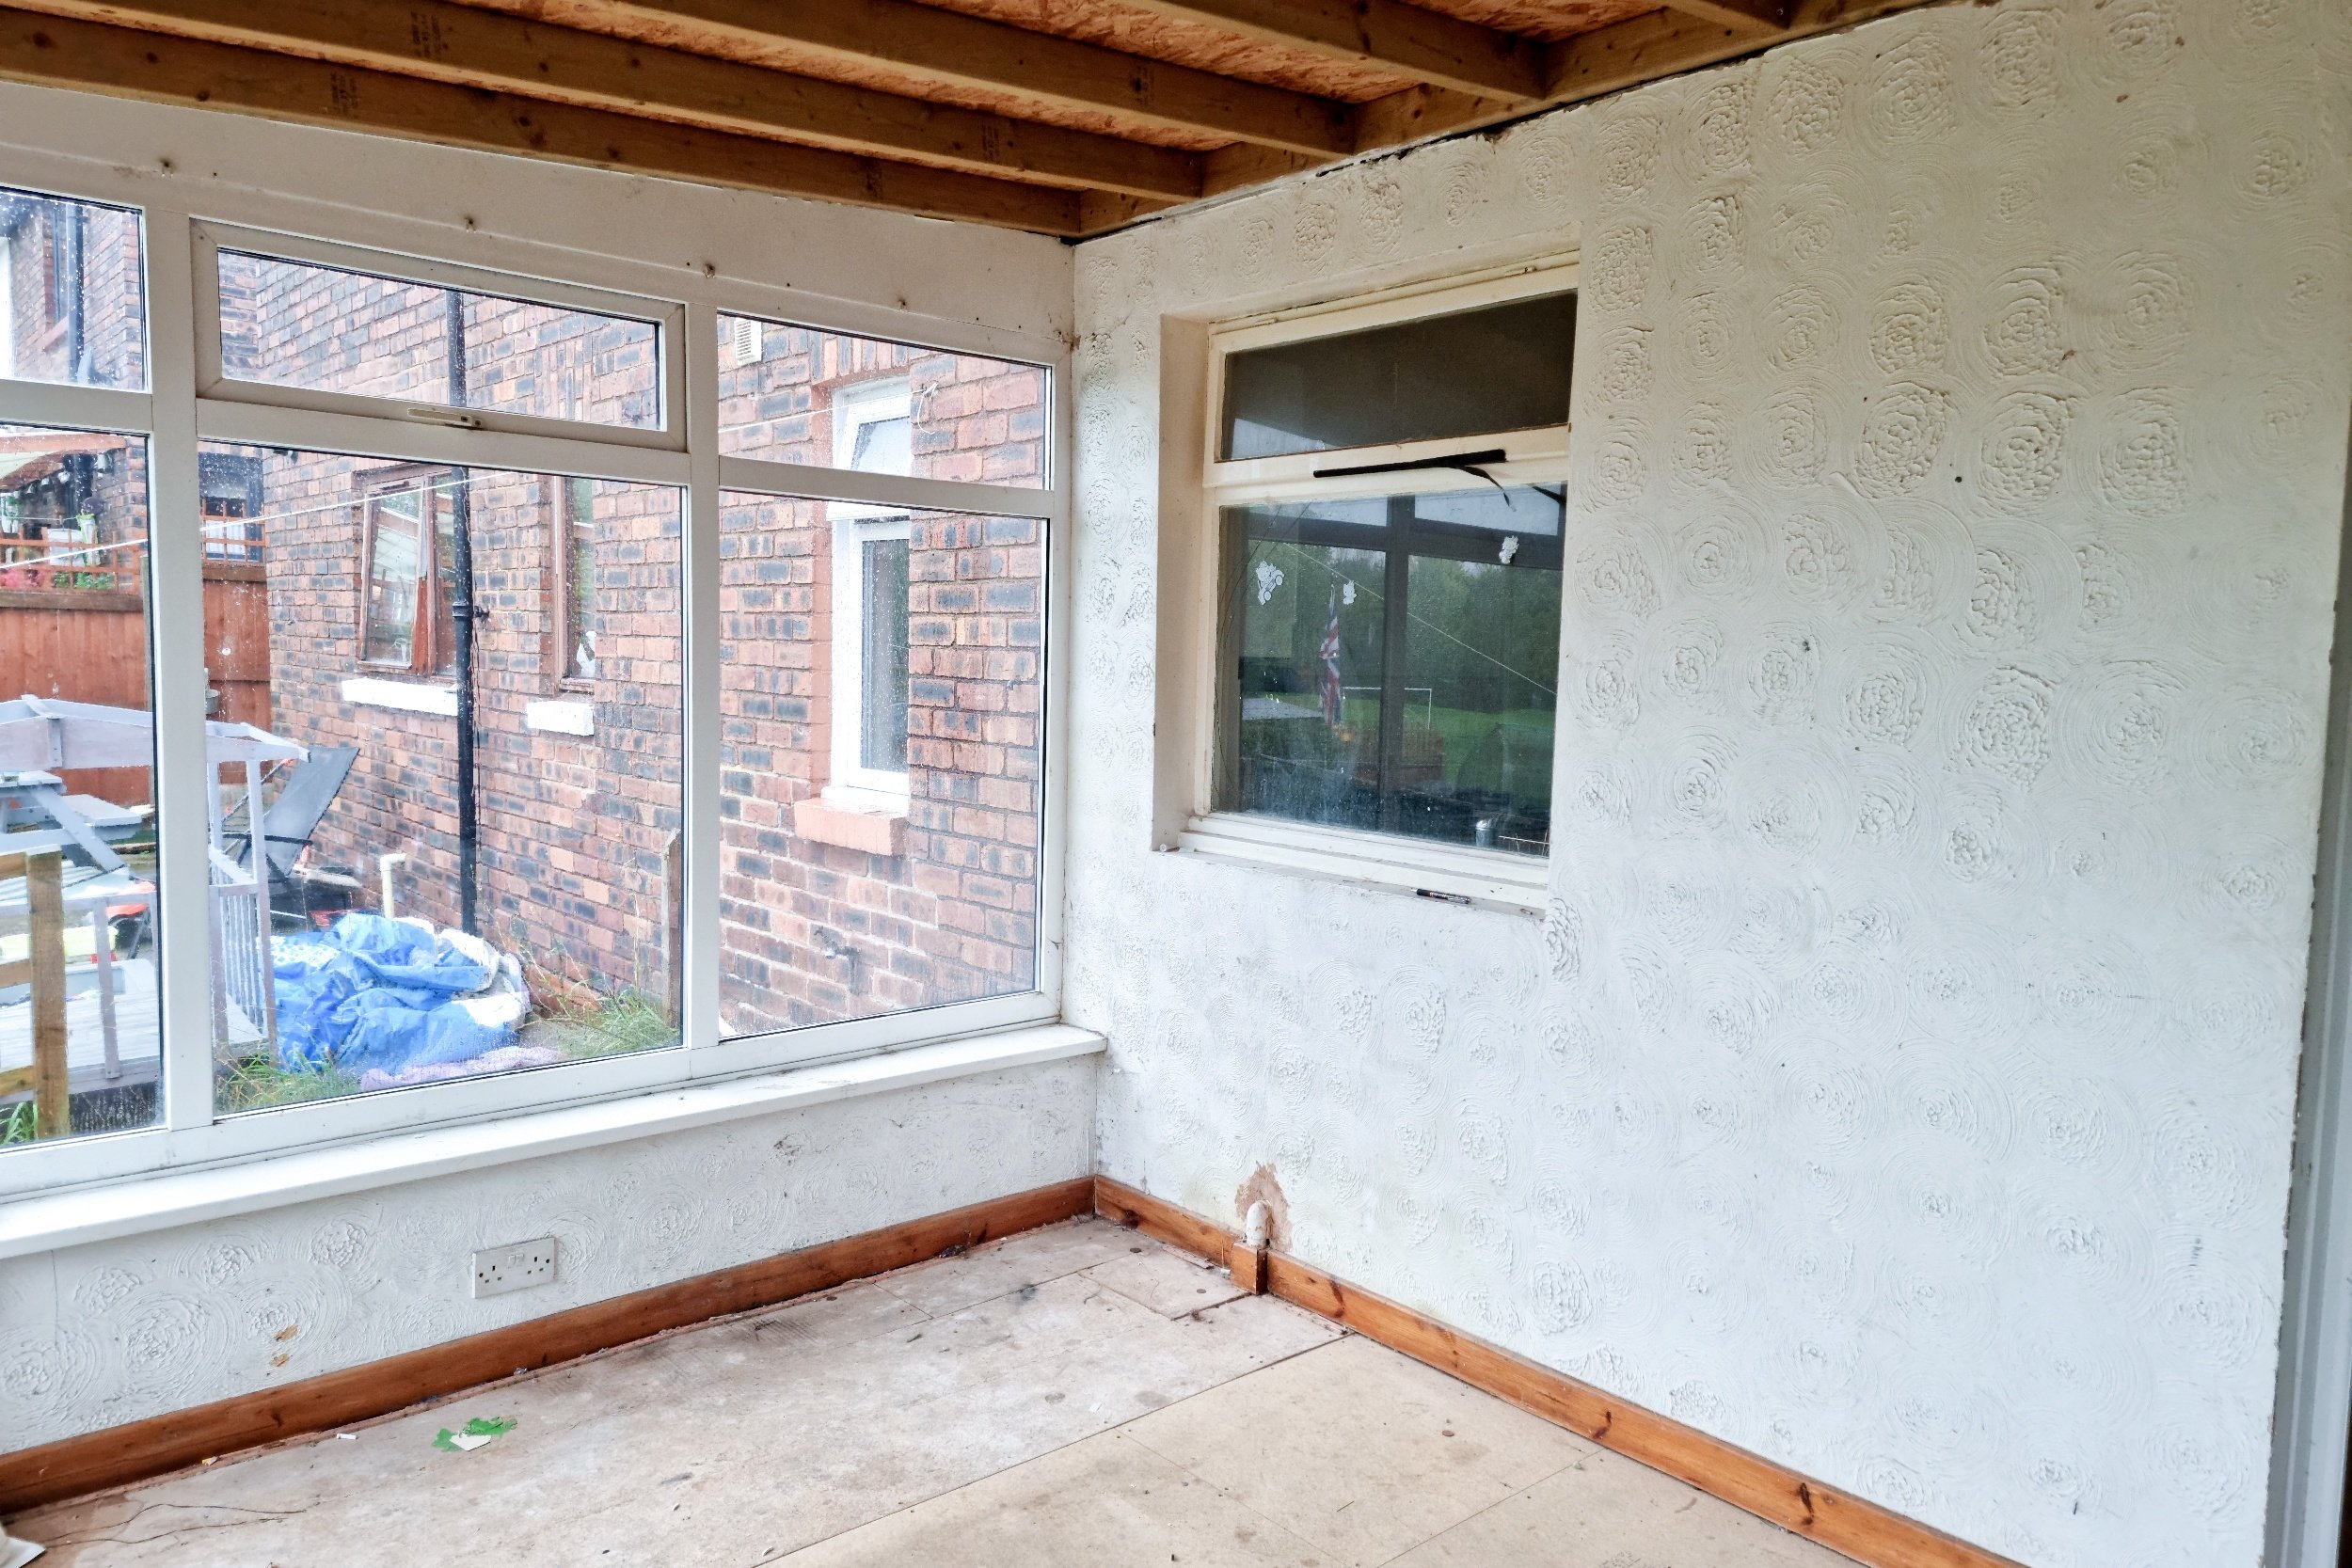
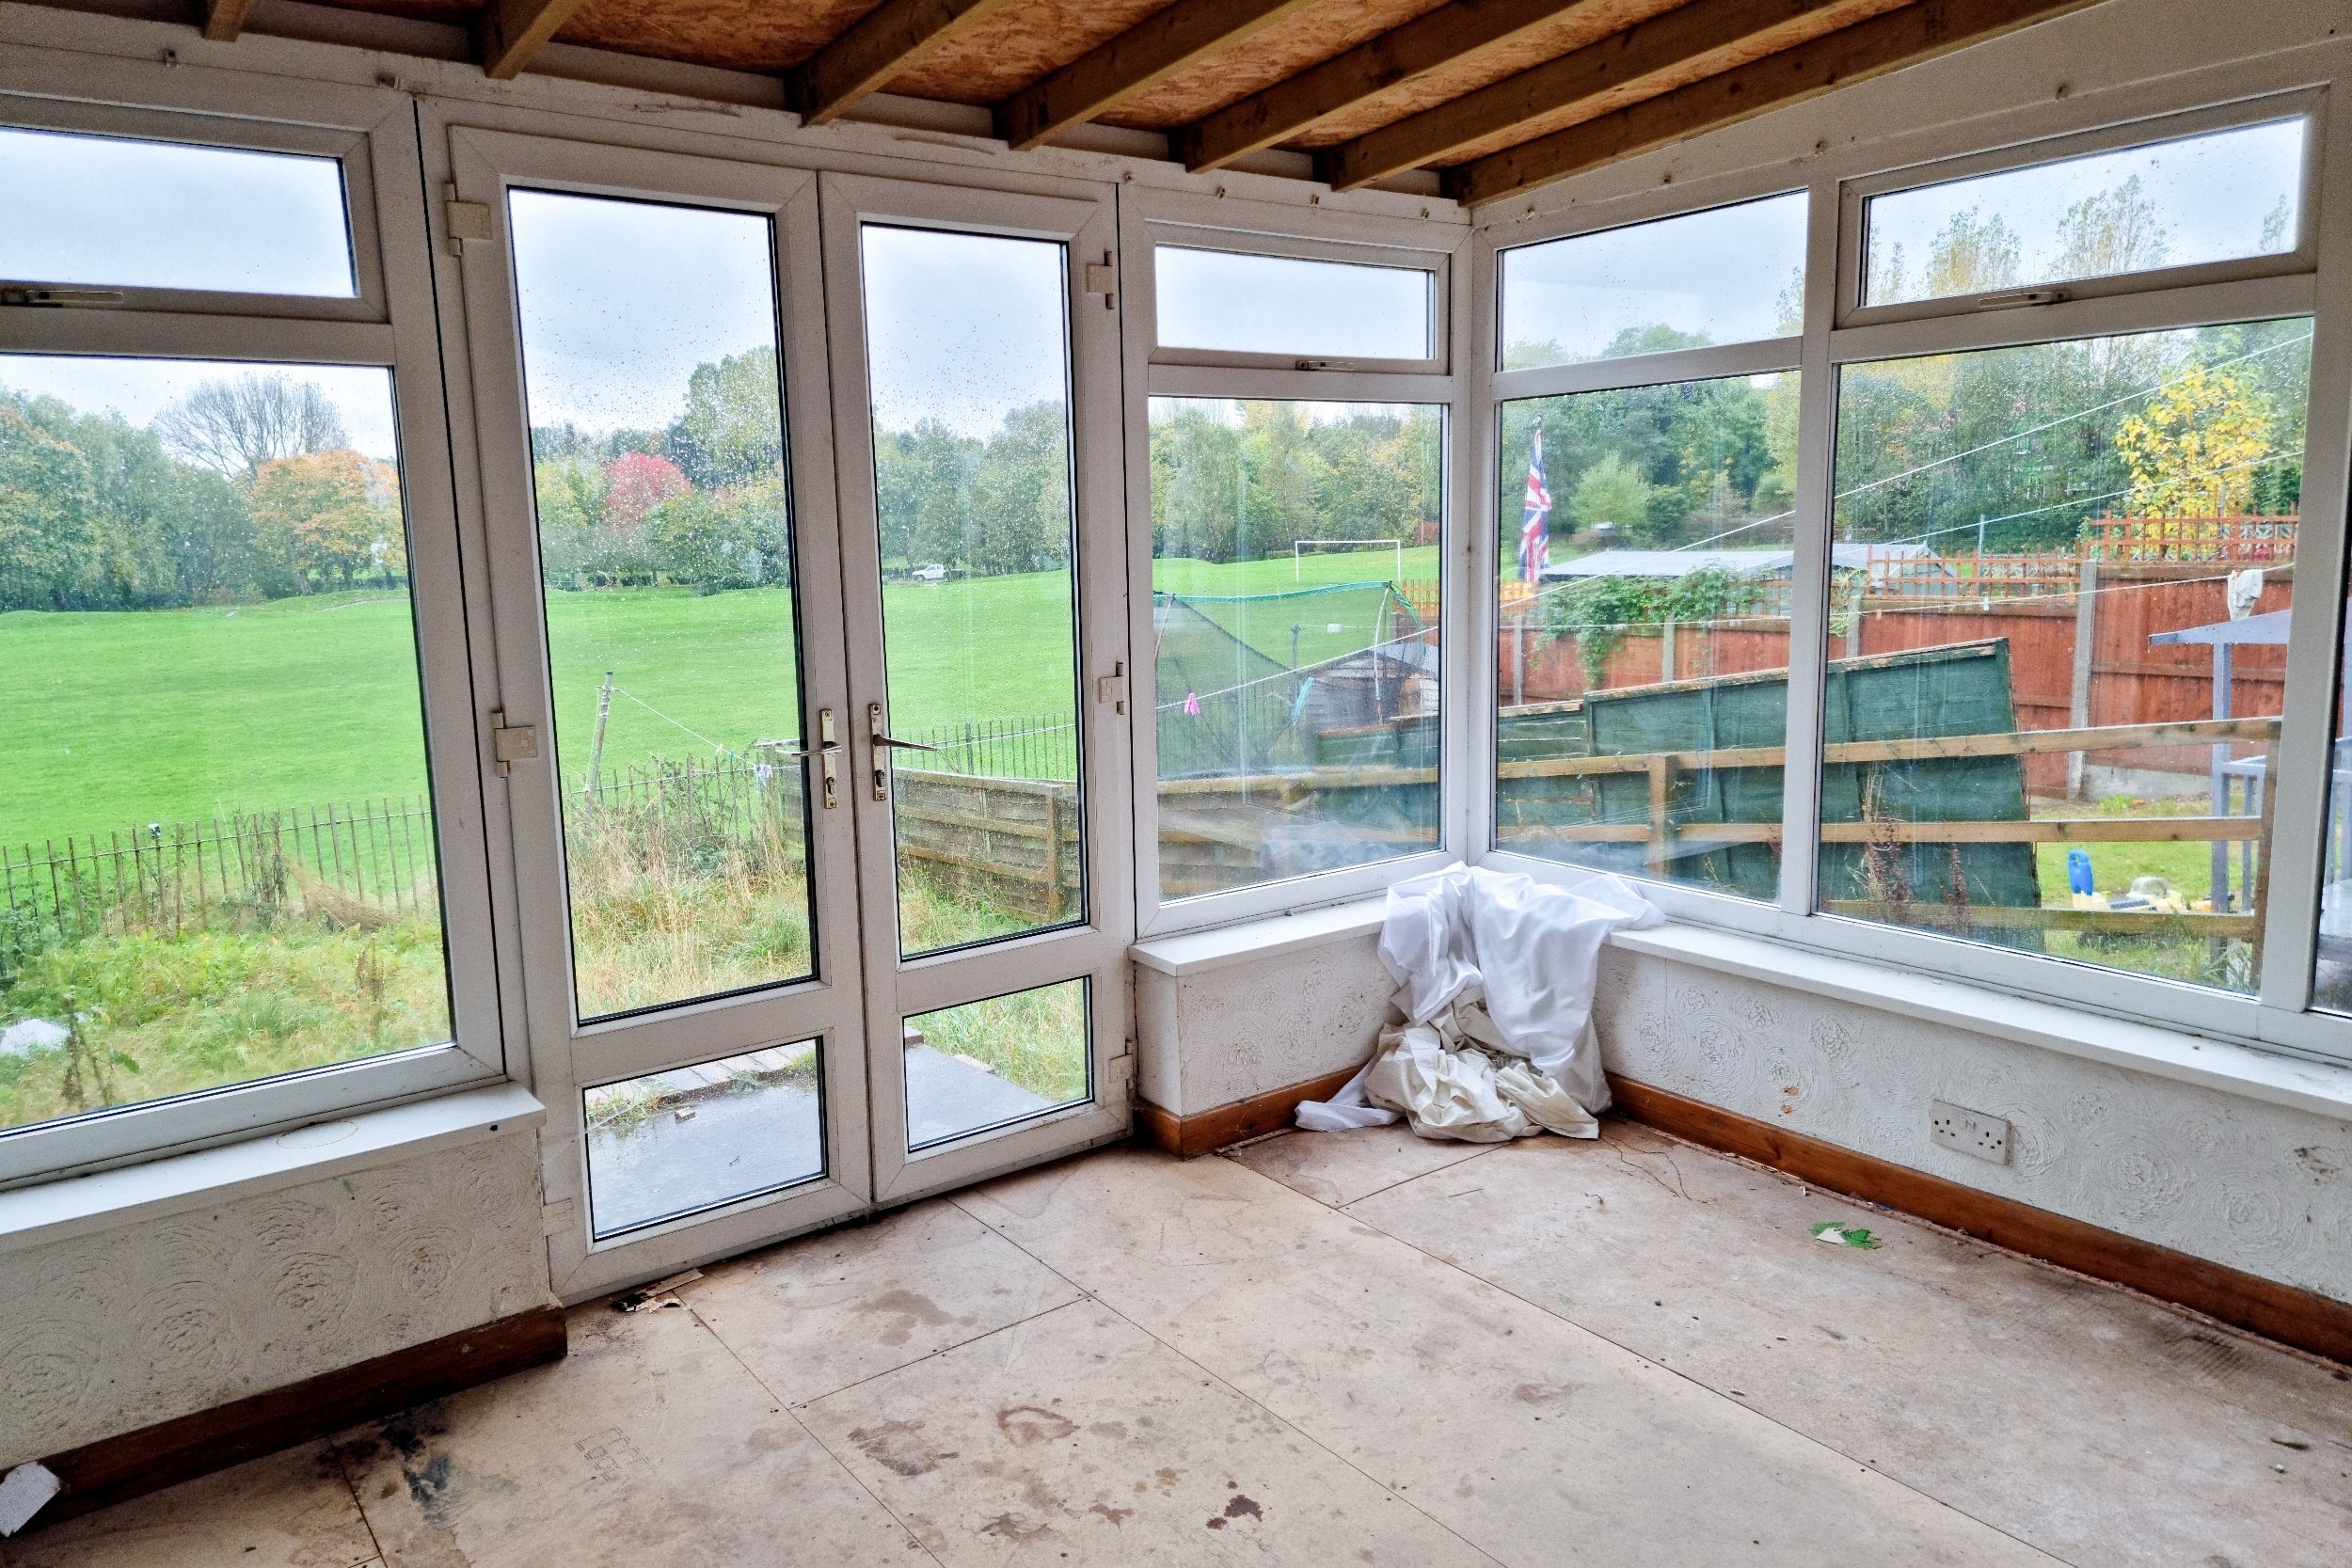
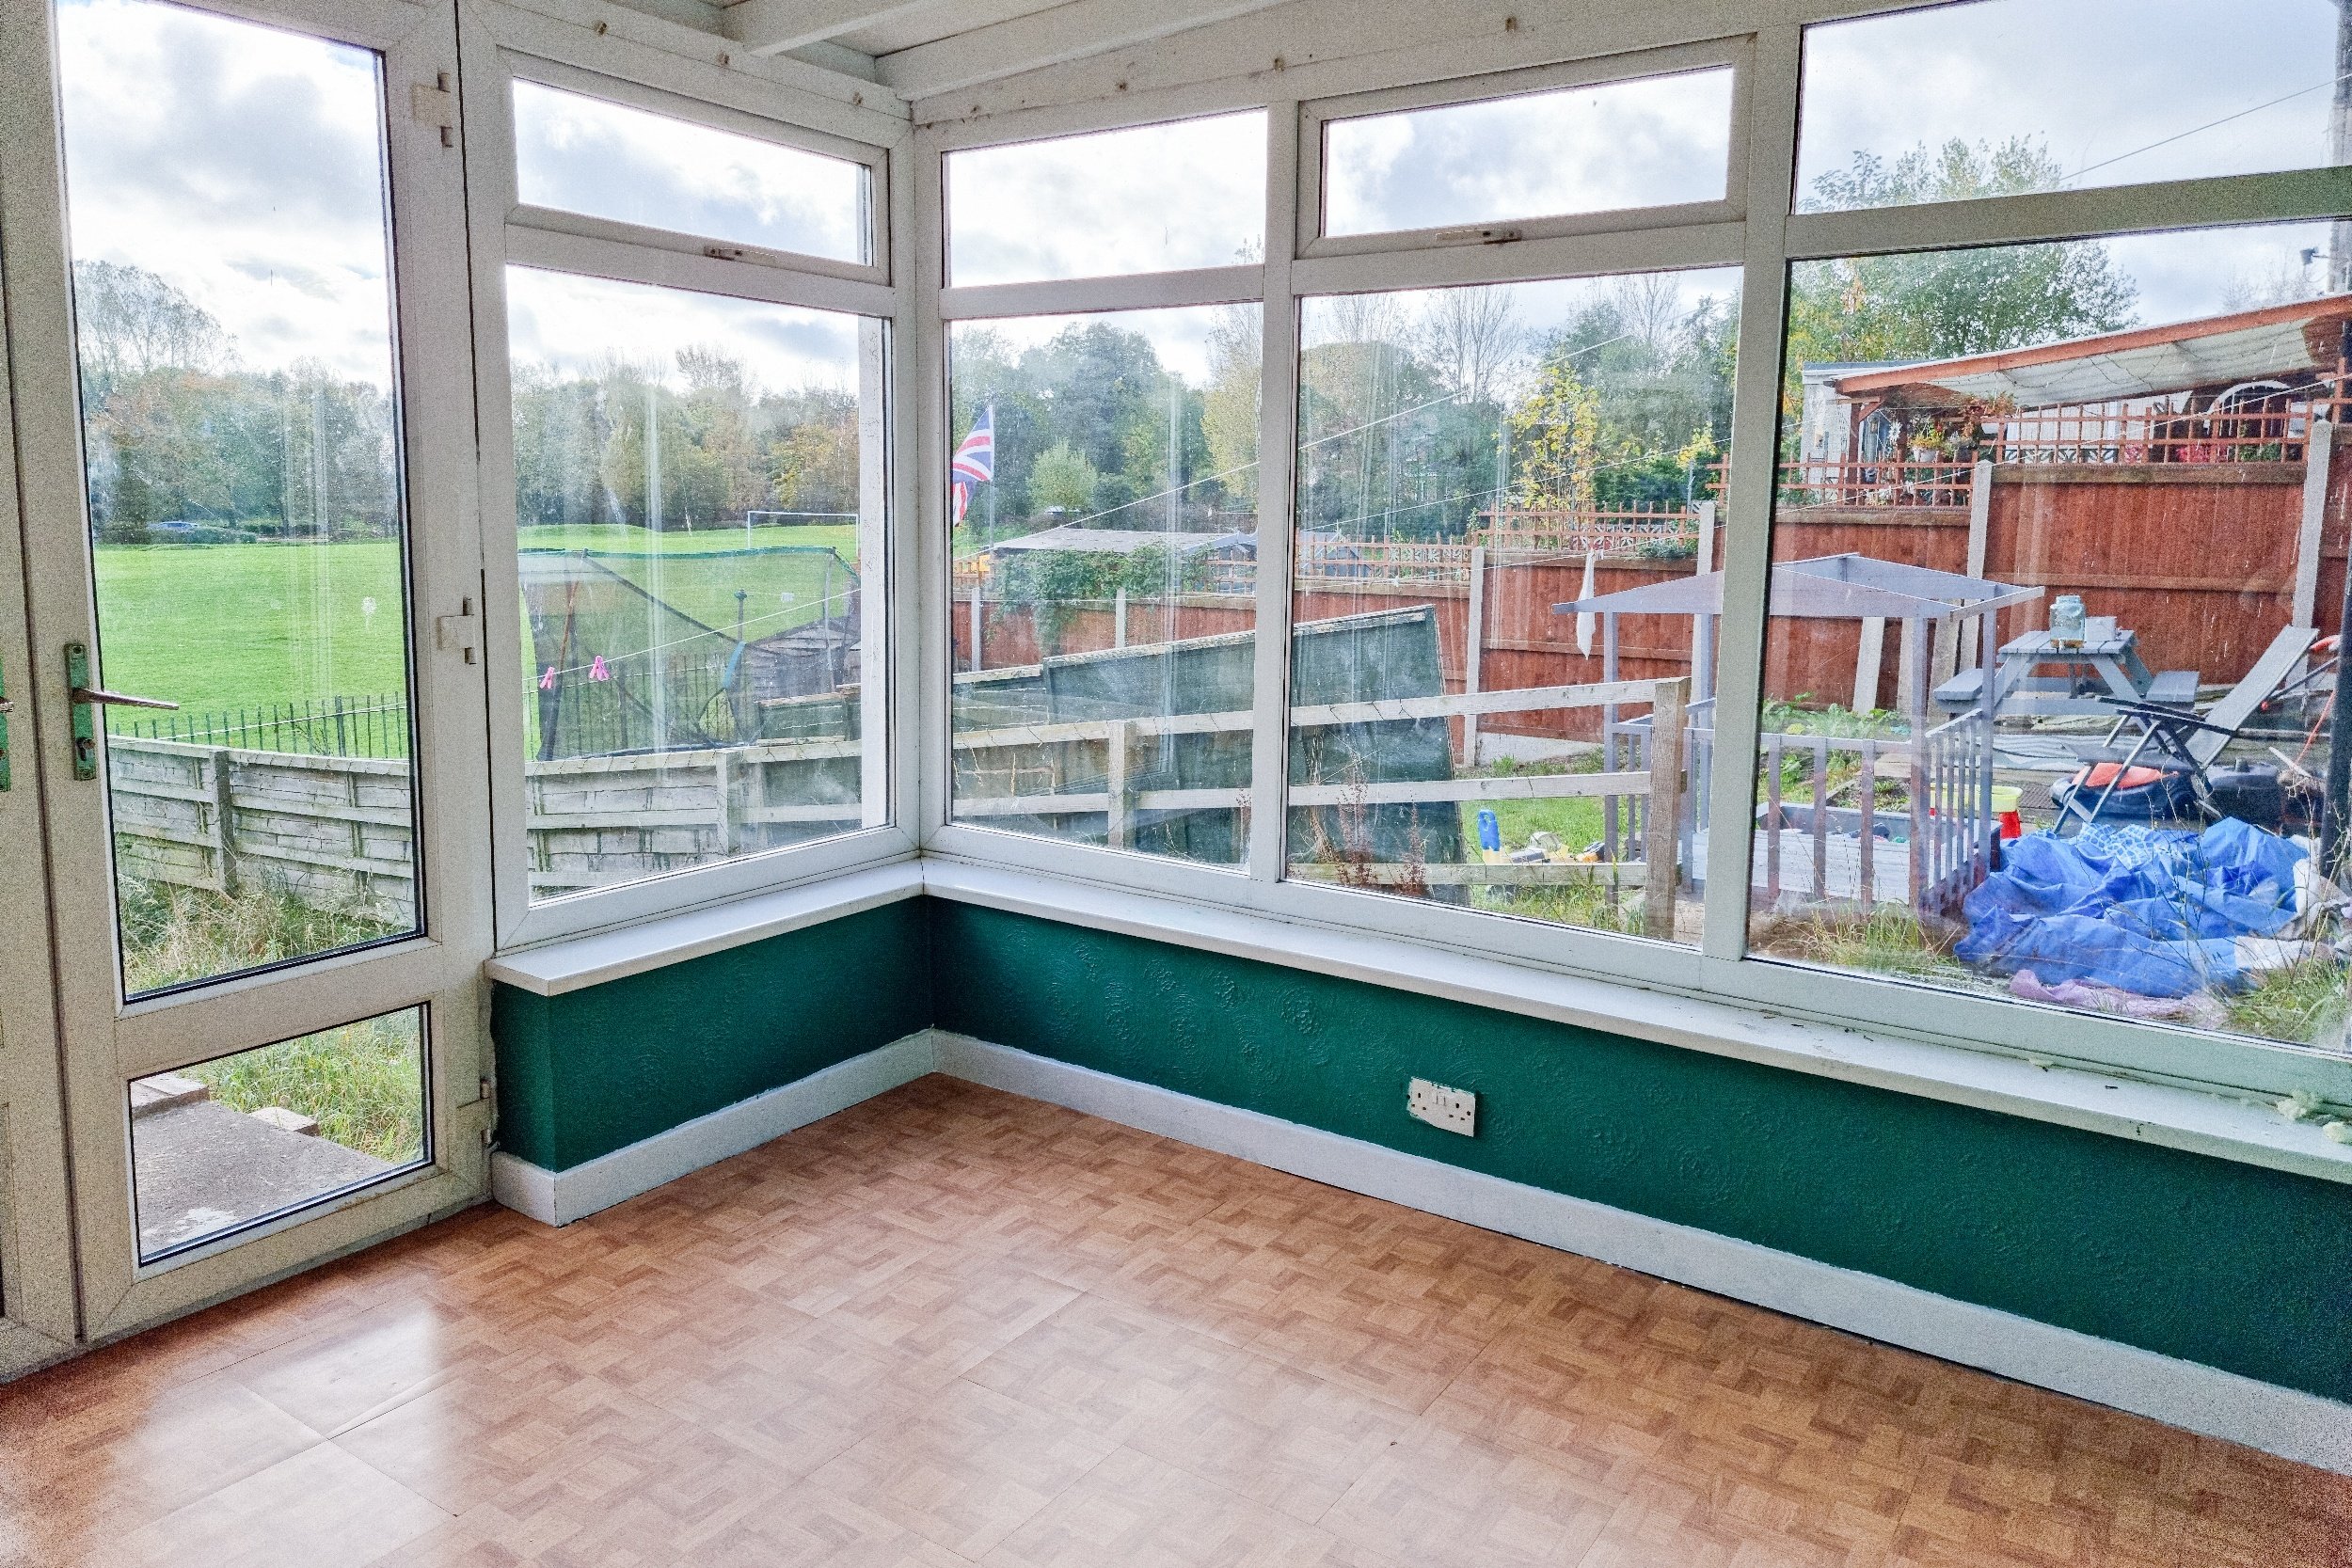
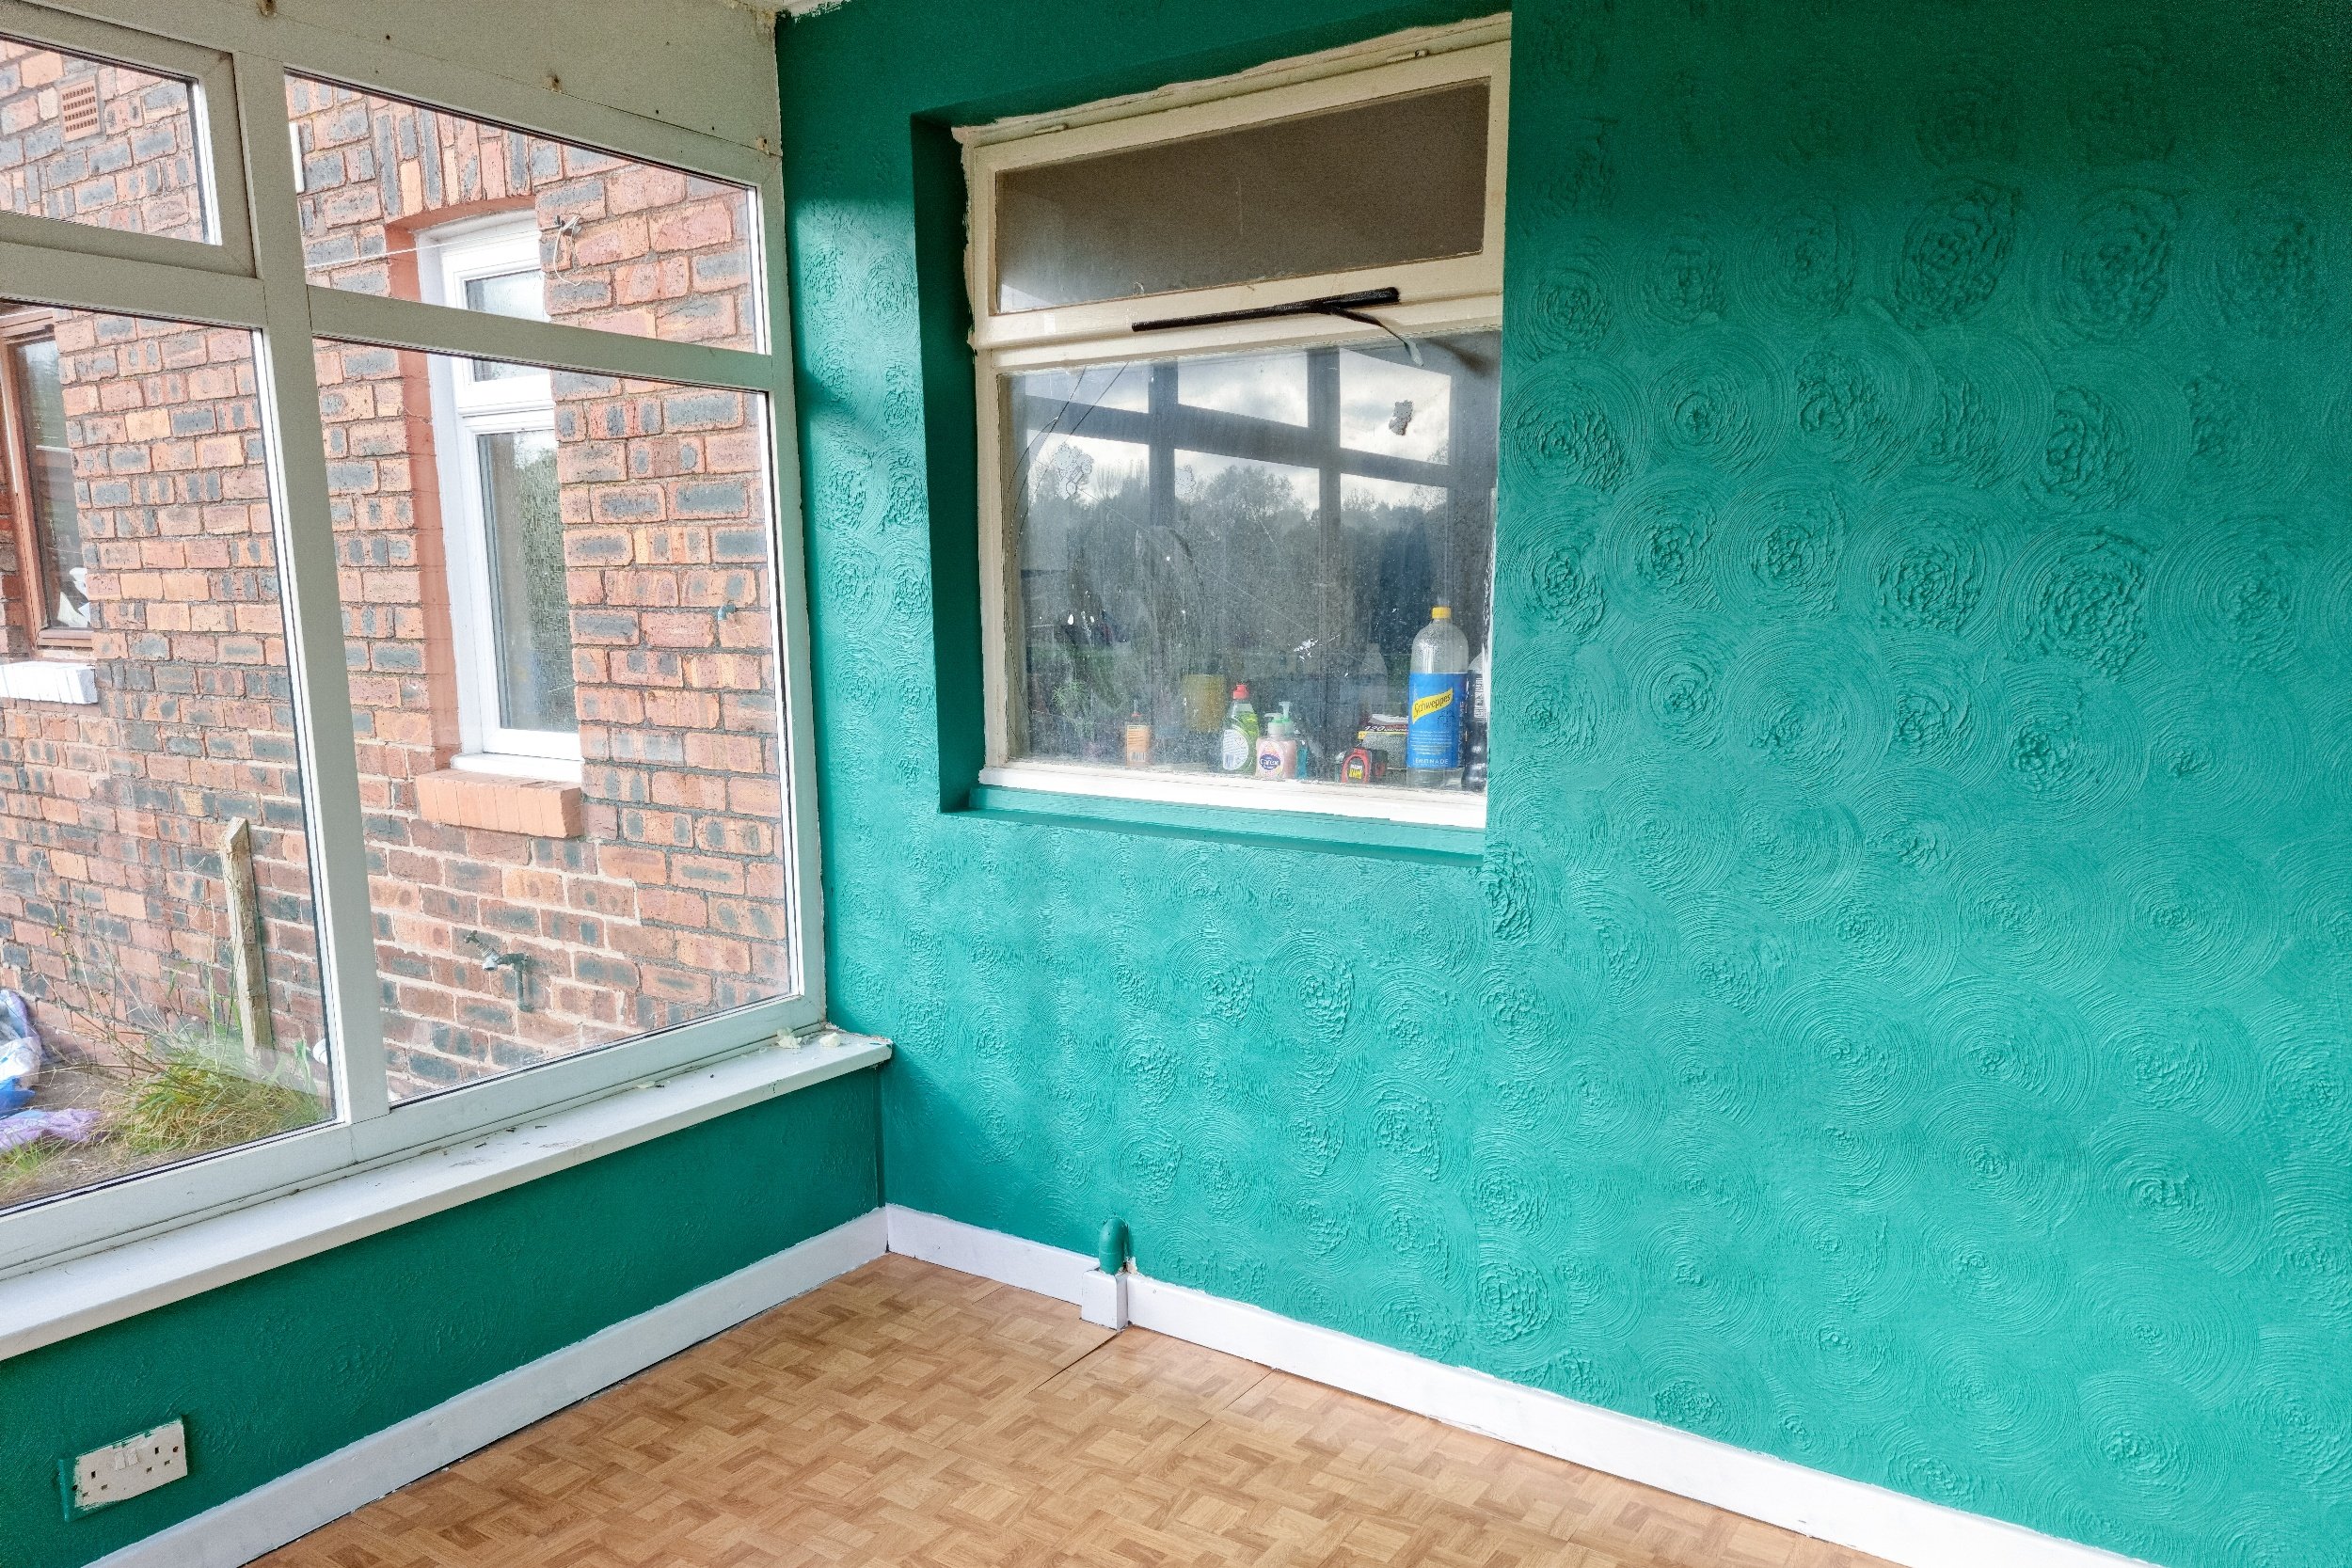
Before
Making a plan
I started a mood board for each room in the house as soon as we were at the point of having an exchange and completion date. These contained a mix of things we already have and we’re going to move from our current rental home, and things we are picking out for our forever home. The main purpose of starting with the sun room was to ensure we had somewhere safe and secure for the children to play whilst we get the rest of the house liveable. I'm so glad we did, because it's been an absolute blessing.
We wanted a theme that matched the views both of the garden and the land beyond; however mostly we just wanted to brighten it up a bit. We went for green, white, natural wood, and bamboo styling - knowing that whatever we did the white bookshelf, toy boxes and more would fit right in. It's so far been a hit with all the children and I can't wait to get the rest of their stuff moved in when we're ready.
Getting started
Painting
Brand: Dulux
Base coat: Pure Brilliant White Walls and Ceilings
Ceiling Colour: Pure Brilliant White Walls and Ceilings
Main Colour: Emerald Glade Walls and Ceilings
Skirting: Pure Brilliant White Gloss (Non-Drip)
The artex swirl made the walls in the sun room a less than ideal surface to work with but we got there in the end. We base coated the ceiling and walls in white to start with. The ceiling needed a second coat of white, but the walls we moved straight onto the green after the first base coat. Some areas needed a little extra top up paint, but the majority of the walls only required one layer of green to achieve the coverage we were after.
Laying the floor
Brand: B&Q
Type: Peel and stick vinyl tiles
Colour: Natural parquet effect
This was the one job I thought would be nice and easy. That was far from the case. I did get there in the end though, and I’m actually really pleased with the final effect.
Pros
The peel and stick was plenty easy to use, as long as you are careful when you peel not to tear the paper.
Lining them up wasn’t too hard to do, the backing paper has arrows on it.
It was quicker than putting down real parquet or laminate flooring.
Cons
The walls were not straight, or aligned at 90° angles.
The floor was not level.
The tiles were not very easy to cut so when it came to adding in bits to fill around the edges it took a while.
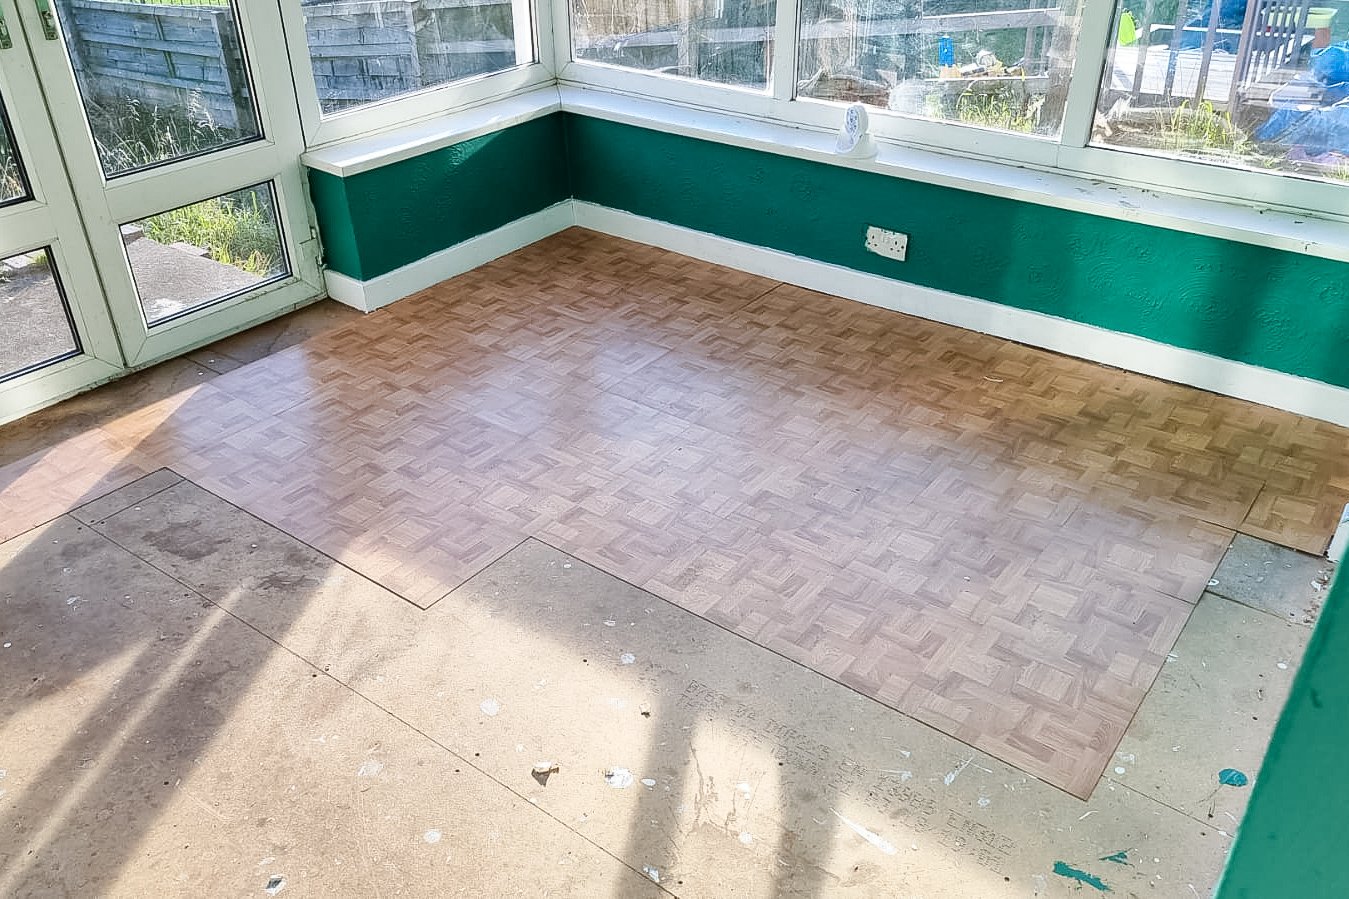
I also miscalculated how many I would need based on the square footage of the room, as I didn’t account for the cutting of tiles to make them fit places such as where the patio doors sit. I ended up having to go and purchase another box to finish up!
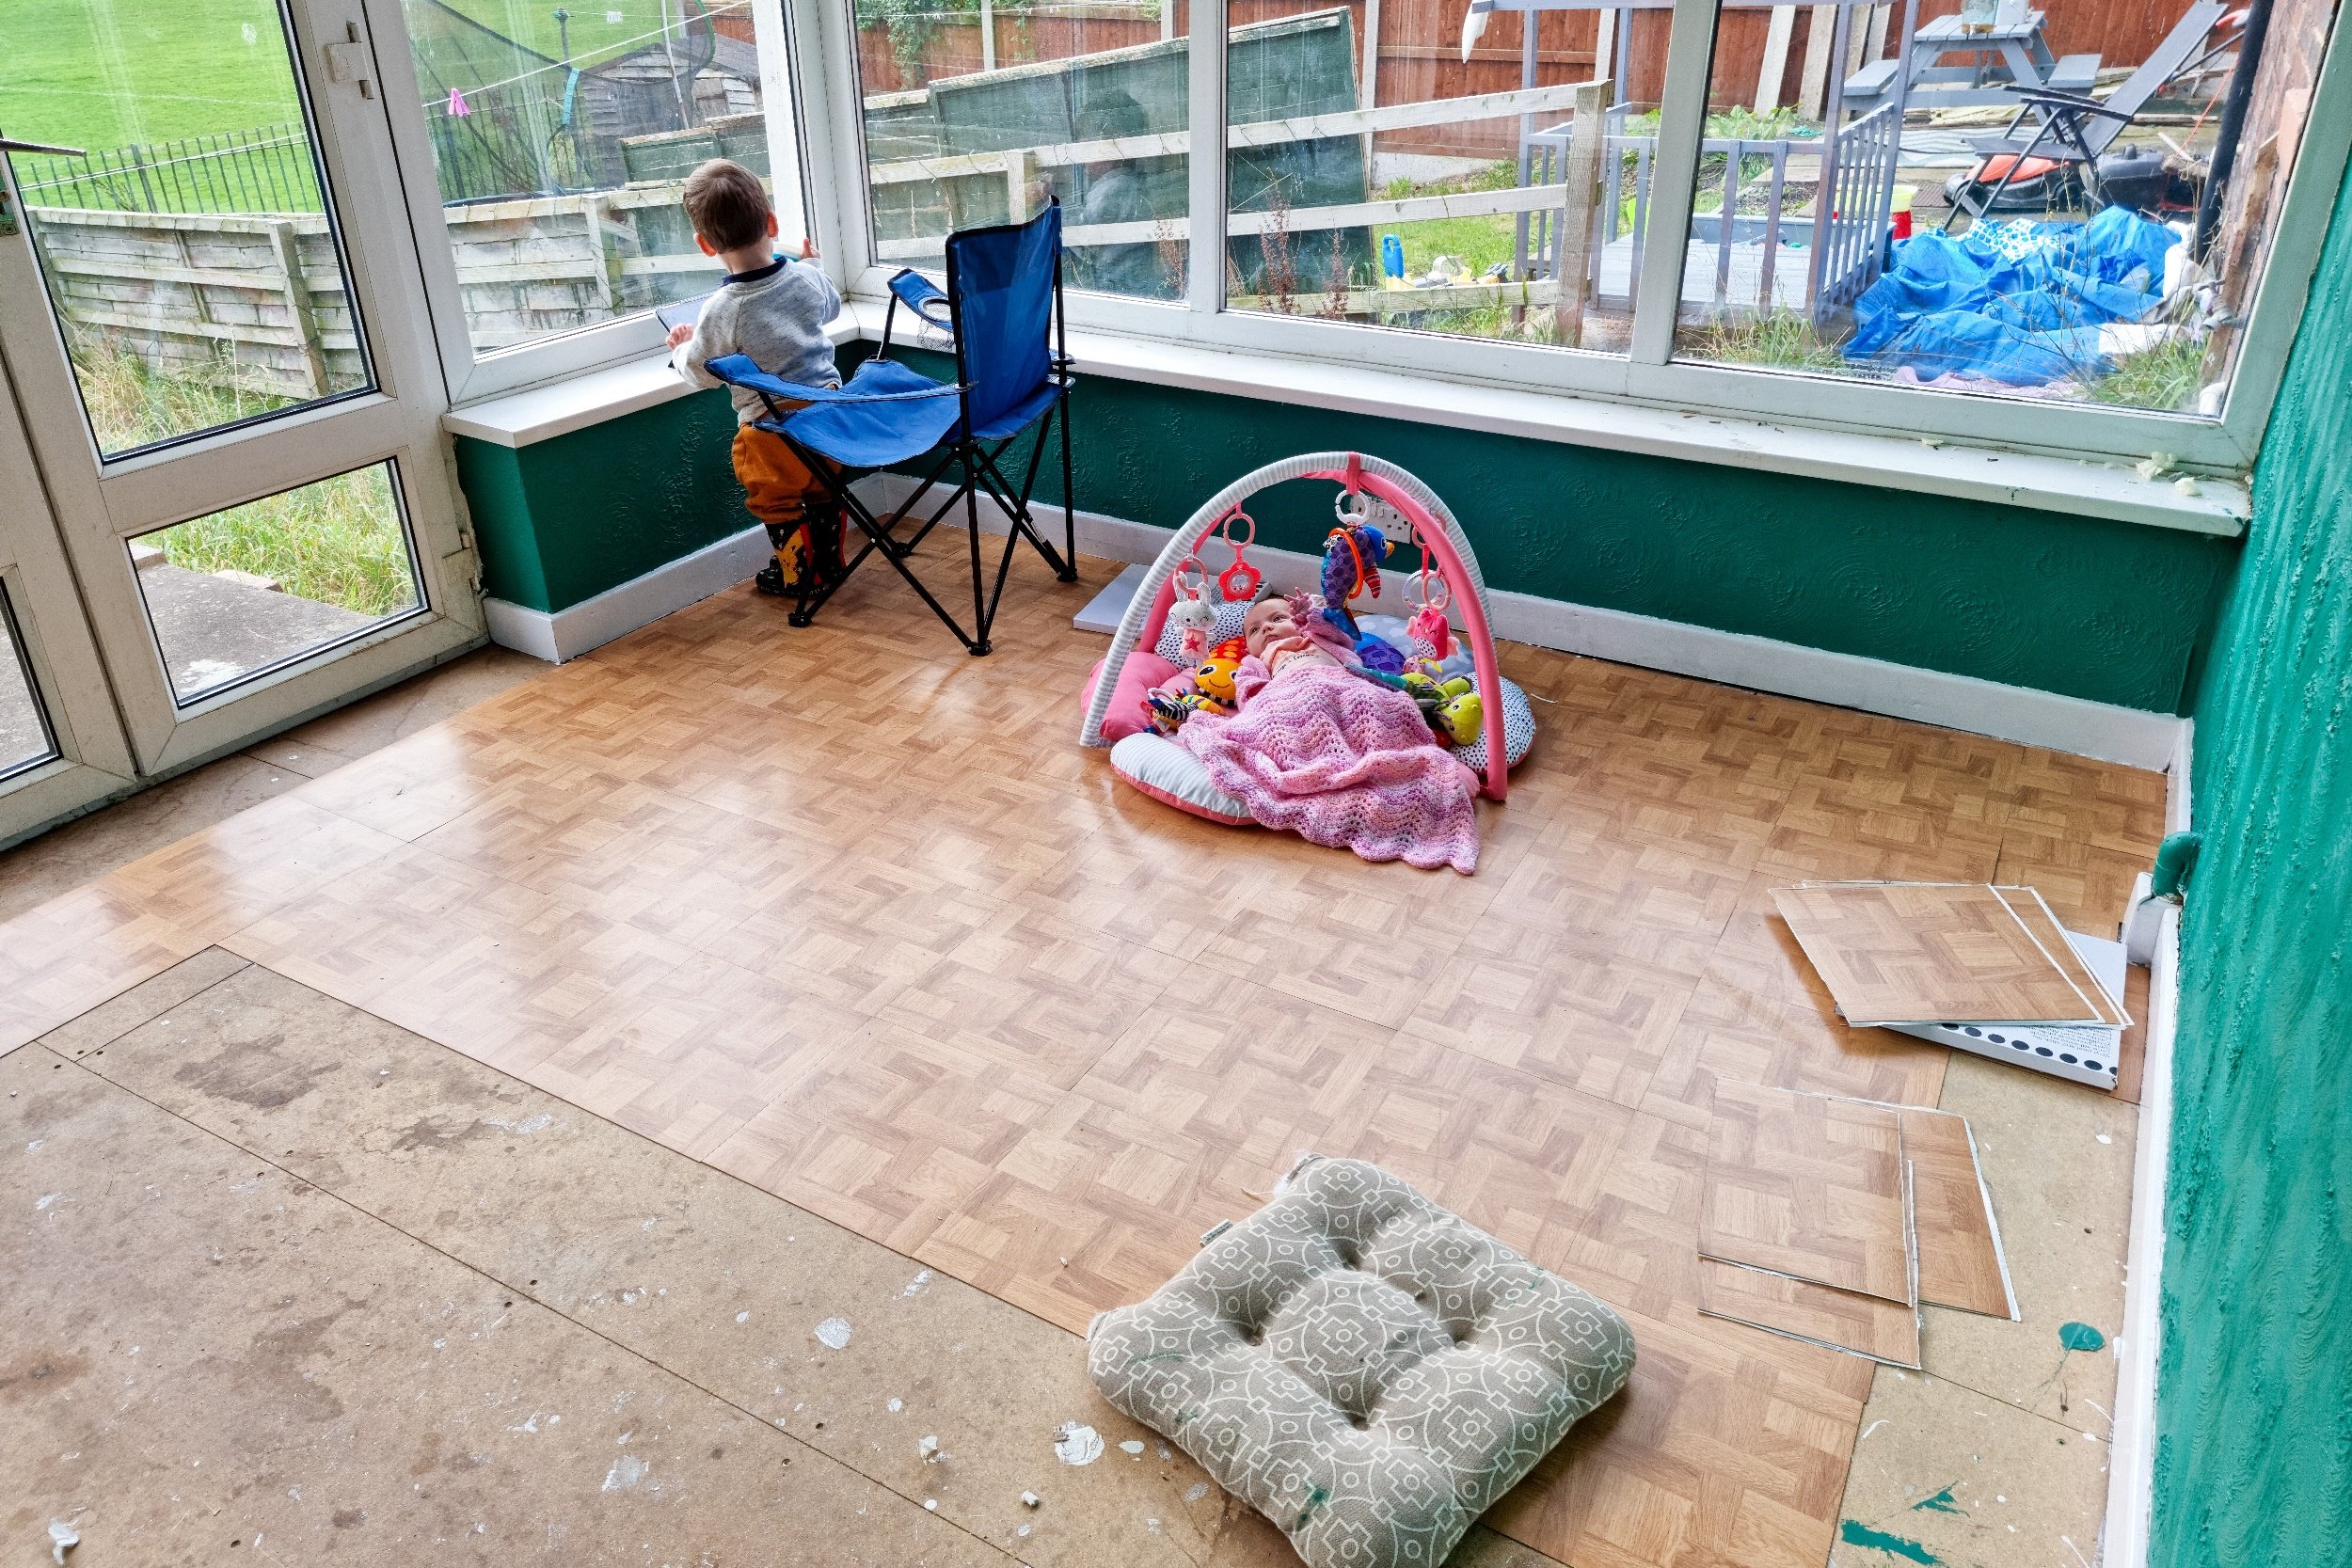
Adding the finishing touches
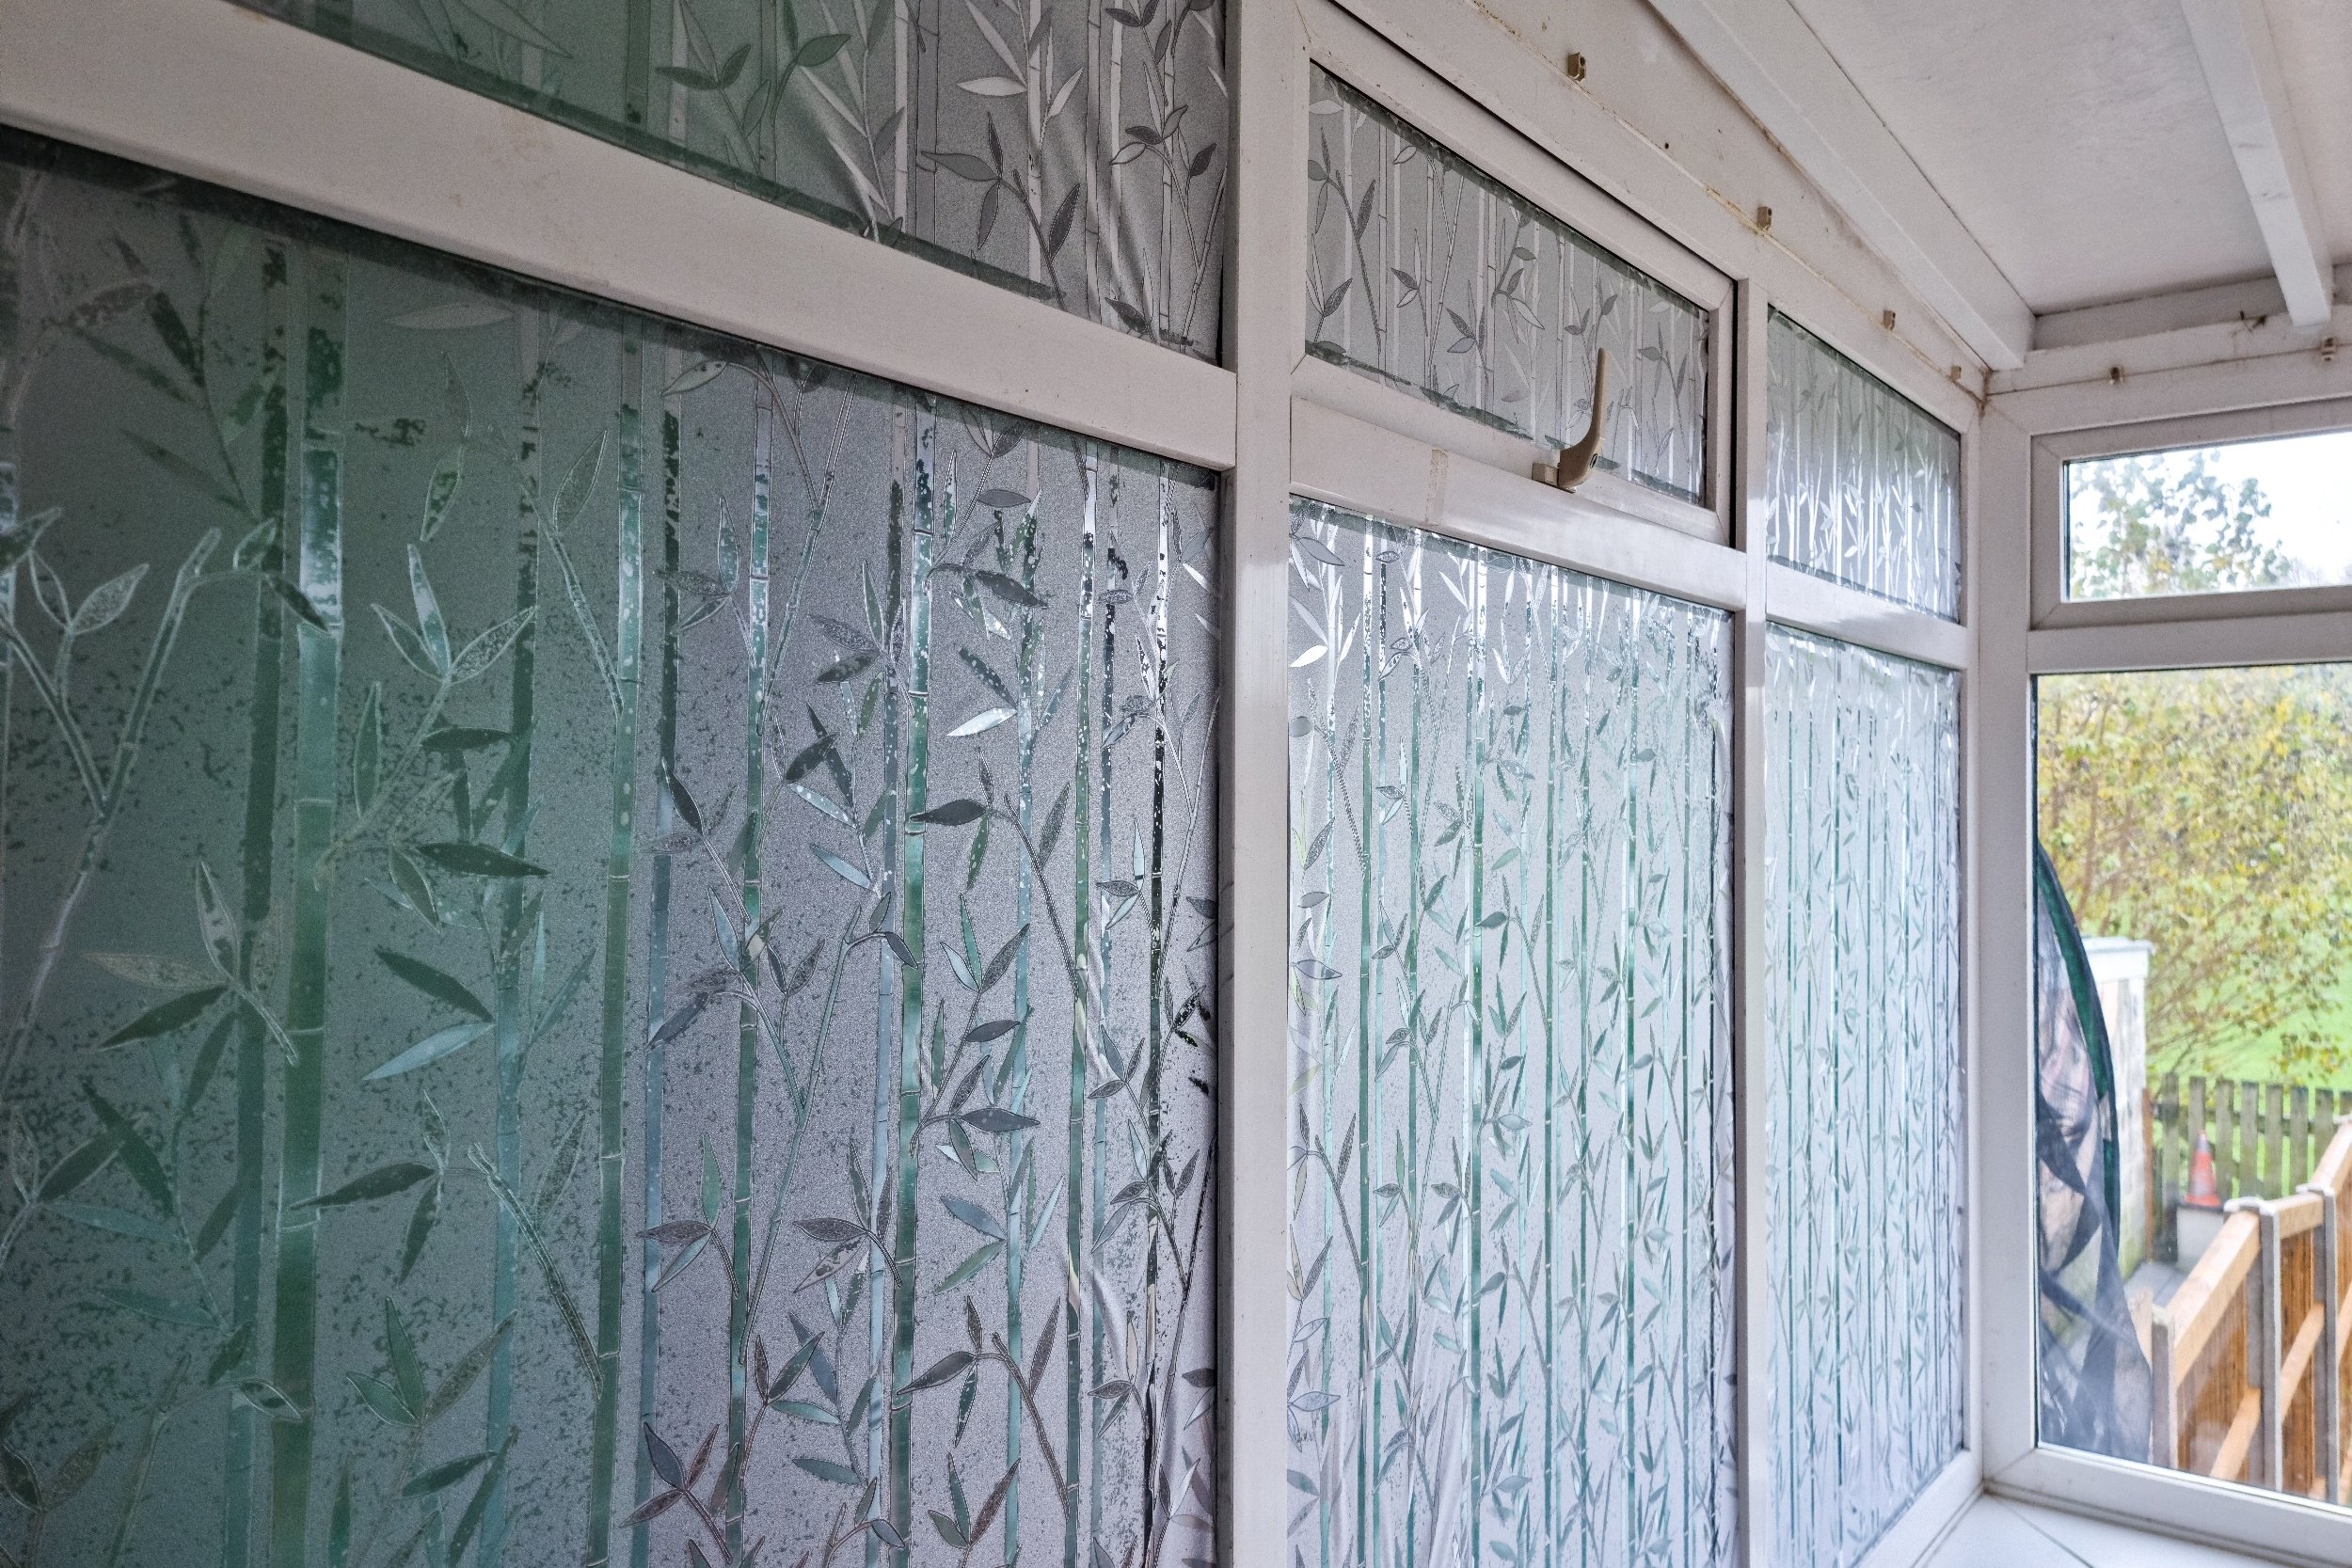
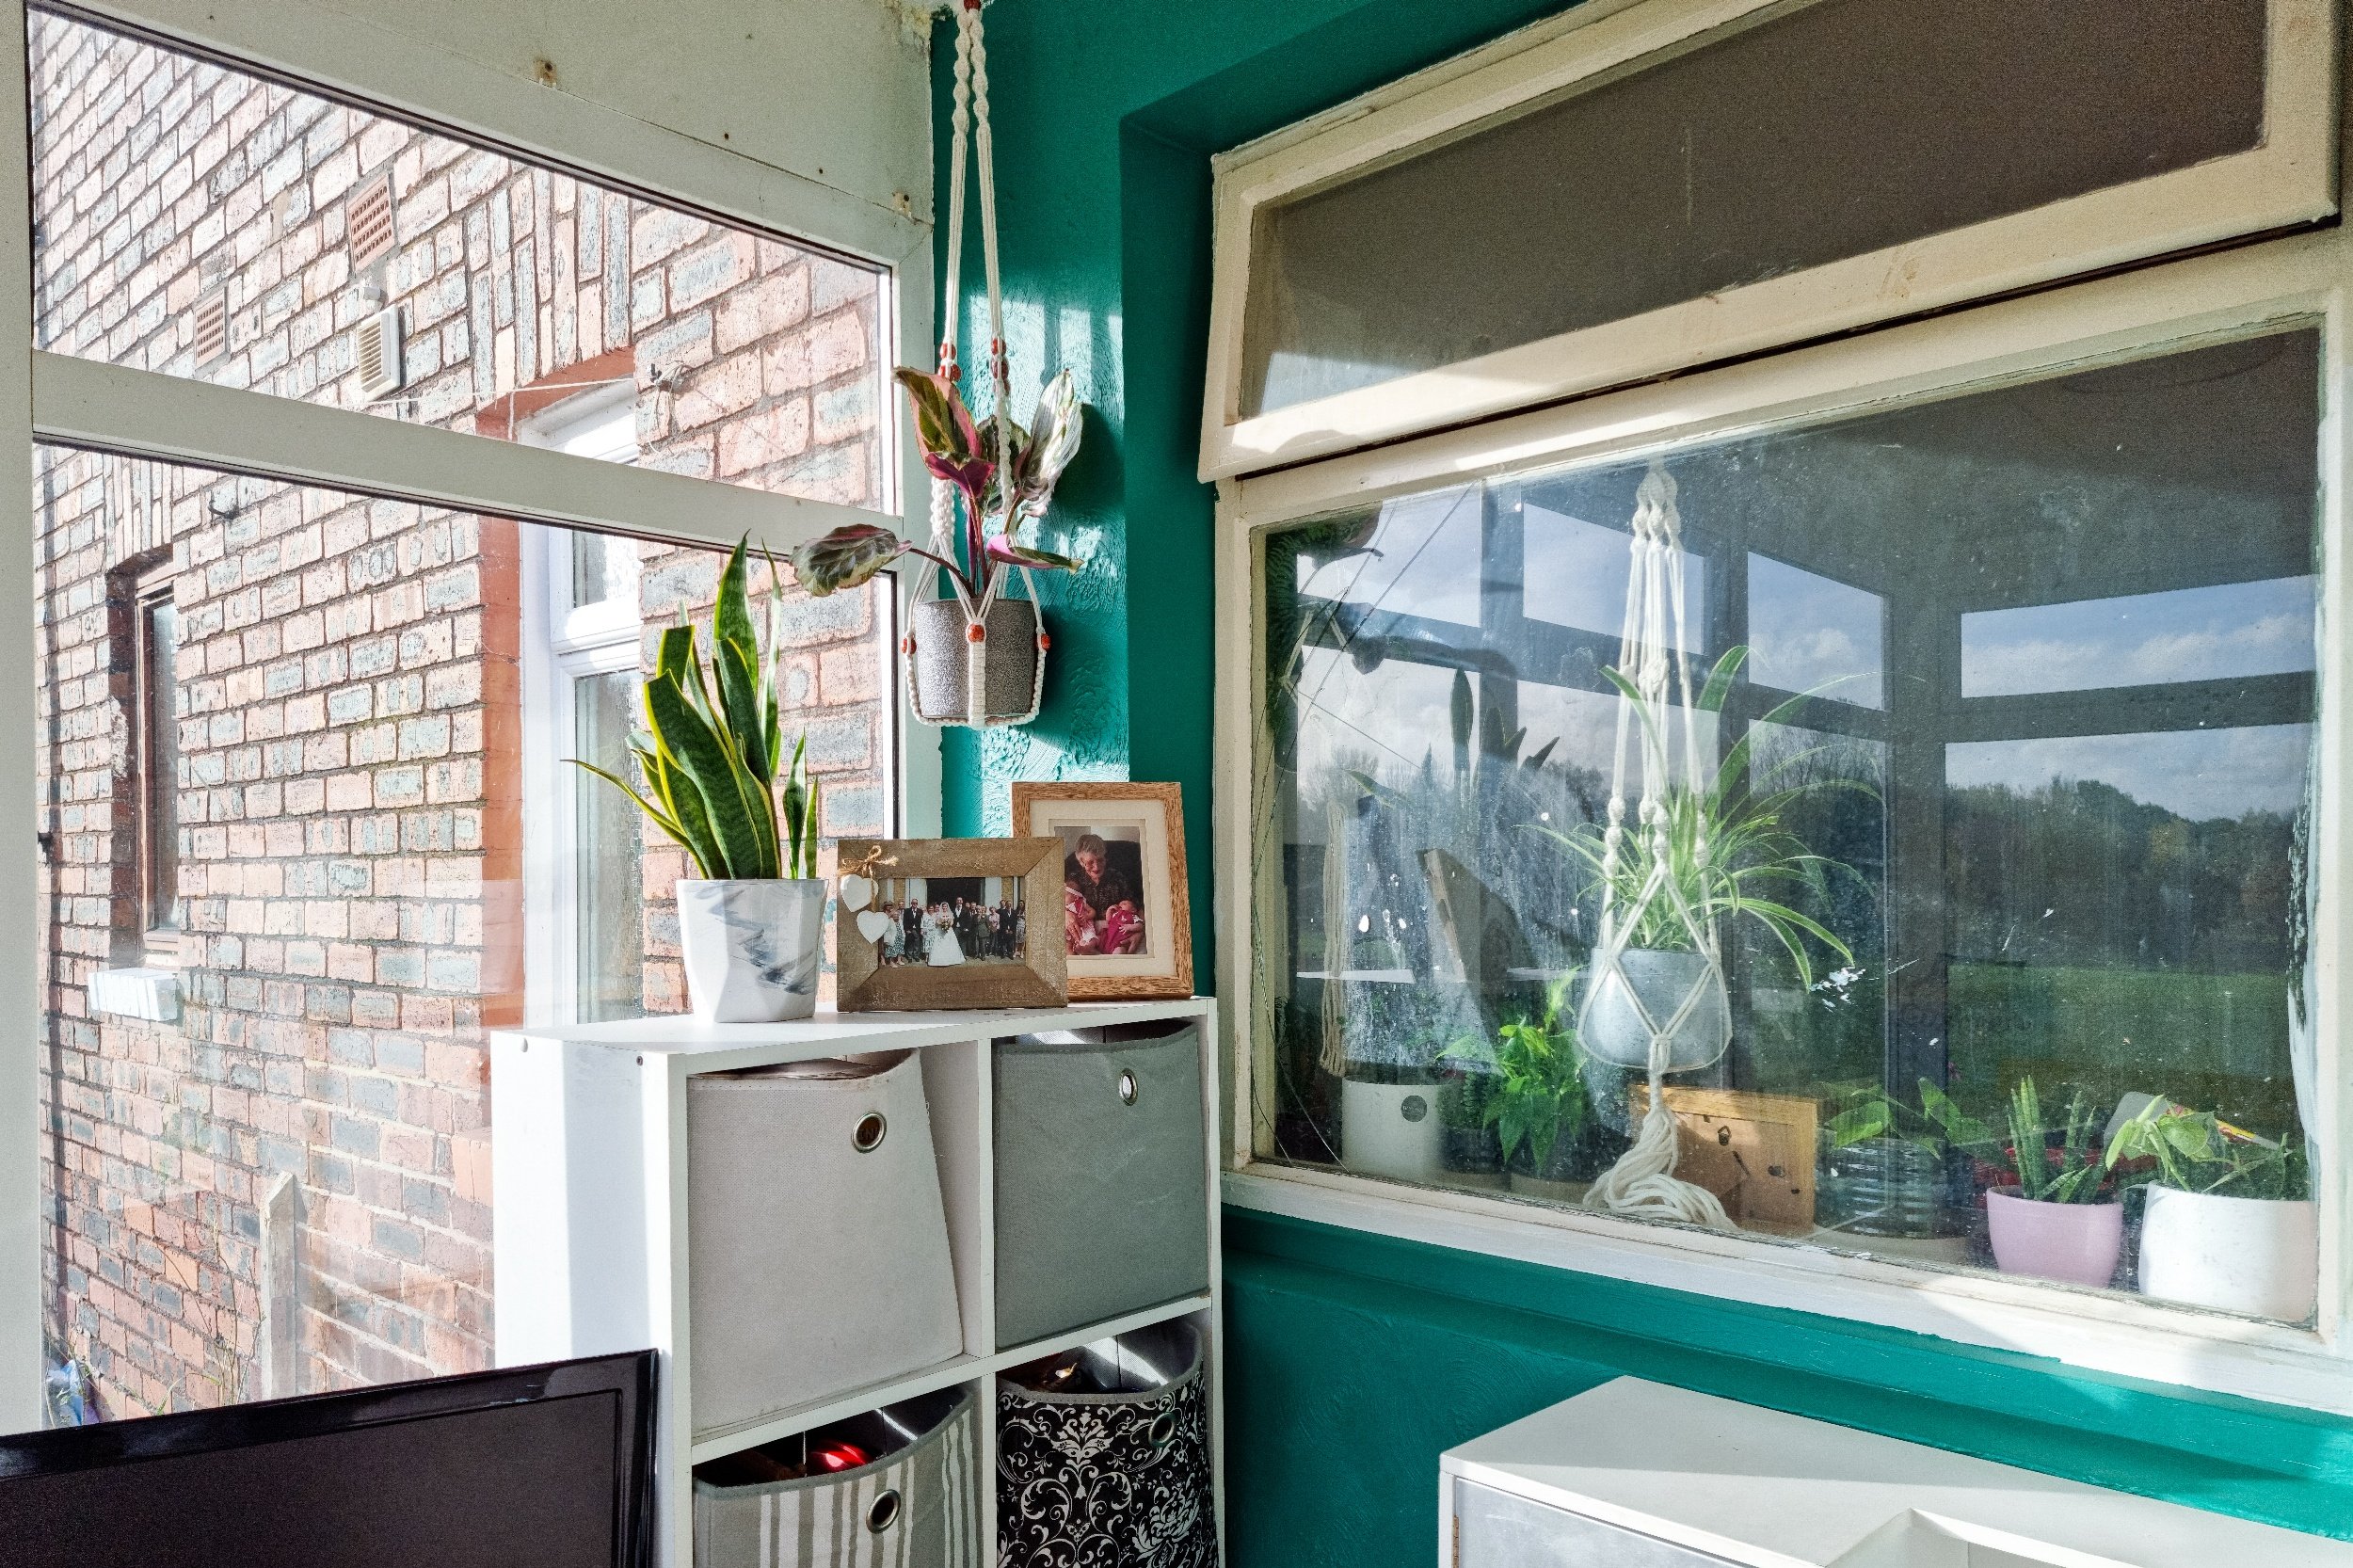
As for the rest of the room we added some macrame, houseplants, family photos and even some voile to add a bit of privacy. Each thing make it feel more and more like home, and the children love having their own space. Best of all it means that when they make a mess it is contained to one room!
After


It is so nice to finally have the first room finished and usuable… and we are all loving it.
For more blog posts on buying and renovating our Cumbrian home, check out my house renovations category here. Have you got ideas of house and home content you'd like to see? Feel free to share your ideas in the comments below.
Pin It


Read about our journey to turn the sun room from an empty room to playroom, with photos and more.