
Key Things to Prepare Before Starting Complex 3D Puzzle Builds
Disclaimer: This post is a pre-written guest post published on behalf of Figured Art. All view and opinions expressed are those of the writer and do not necessarily represent those held by Me Becoming Mum.
There's a particular kind of frustration that hits about forty minutes into a complex 3D puzzle build, pieces scattered everywhere, no clear sense of direction, and a growing suspicion that something went wrong at the very start. Most of that frustration is avoidable.
Good preparation is what separates a satisfying build from a chaotic one. These seven things to prepare before starting complex 3D puzzle builds will help you work more clearly, make fewer mistakes, and actually enjoy the process from the first piece to the last.
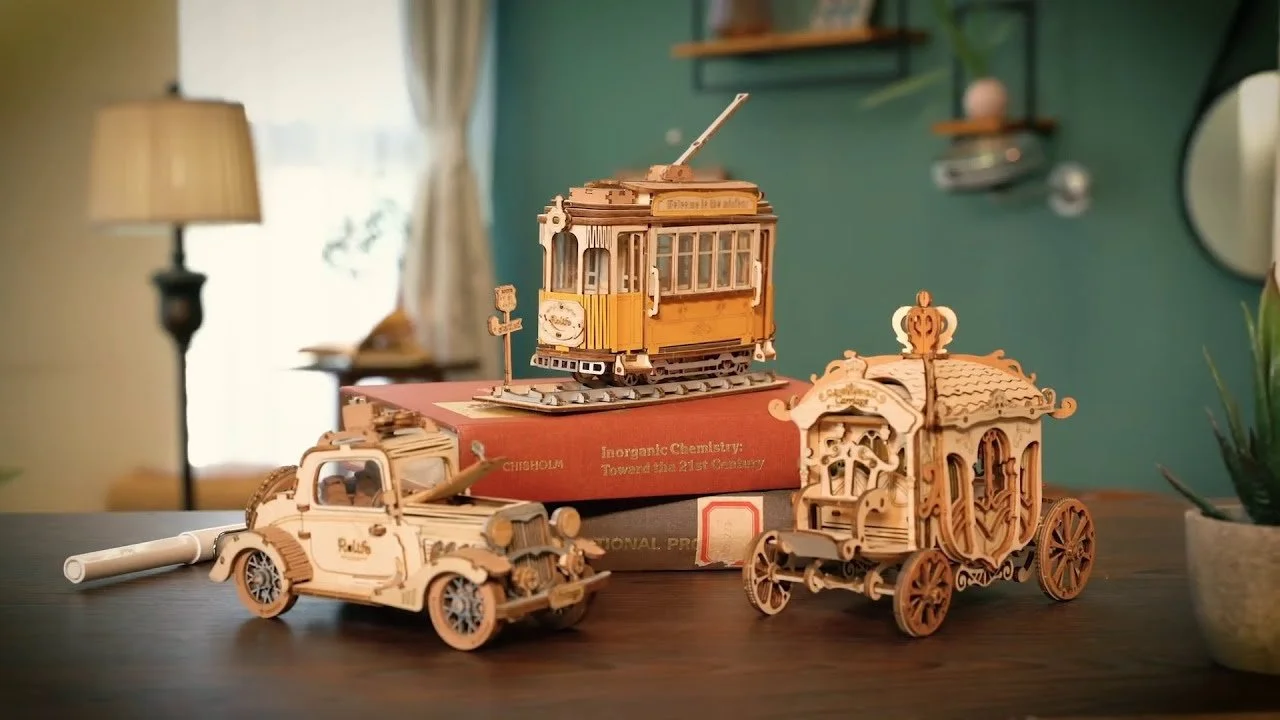
Set Up a Dedicated, Well-Lit Workspace
Lighting matters more than people expect. Natural daylight is ideal, but a bright LED desk lamp angled across the surface works well in the evenings. Poor lighting makes it genuinely hard to read subtle markings, distinguish similar shades, or spot the tiny numbered tabs that guide assembly order. Set the lamp so it doesn't cast shadows directly over the build area.
Keep the space clear of drinks, snacks, and anything else that could damage the pieces. A dedicated tray for spare parts and a small bowl for connectors will stop you scrambling every time a component rolls off the table.
Sort All Pieces Before You Touch the Build
Tipping the bag out and immediately trying to slot pieces together is the single most common reason complex builds go wrong. Sort everything first, every time, without exception.
Sort by type. Flat panels, curved sections, support rods, locking tabs, and any adhesive-backed elements should each have their own dedicated spot, laid out in rows or dropped into small cups and trays. Many builders go a step further and sort by the printed markings too, grouping numbered or lettered pieces together before assembly so nothing gets grabbed out of order.
This step feels slow. And it saves enormous time later. Searching for one specific tab in a pile of ninety similar-looking pieces mid-build is far slower than a fifteen-minute sort at the start. Complex builds rarely have truly spare parts, so if something seems like it doesn't belong, set it aside carefully rather than discarding it.
Check the Instructions Before You Pick Up a Single Piece
A complex 3D puzzle's instruction booklet isn't something you glance at once and push aside. Read it all the way through before the build begins. Get a feel for the overall sequence, identify each numbered stage, and flag any steps that look tricky, better to spot confusion early than hit it halfway through a critical section.
Pay close attention to the order of assembly. Some sections must be completed and locked in before others can be attached. Attempting them in the wrong order can mean undoing completed work. The instructions will also tell you whether any sections need to dry or set before you proceed, which affects how you plan your sessions.
If the instructions include a diagram of the finished model, study it. You'll develop a spatial understanding of how the structure holds together, which makes every individual step easier to execute.
Gather Your Tools in Advance
Most 3D puzzles don't require tools, but complex builds often do, and discovering that mid-build is deeply inconvenient. Check the instructions for any tool requirements and gather everything before you start.
Common items worth having nearby:
A pair of flat-nose tweezers for placing small connectors precisely
A rubber mallet or a folded cloth for pressing stubborn joints flat
Fine-grit sandpaper if any edges need smoothing before they fit properly
PVA glue or puzzle-specific adhesive for builds that require permanent bonding
Keep tools within arm's reach but off the build surface itself. Knocking a screwdriver into a partially assembled section is the kind of setback that genuinely tests patience.
Plan Your Build Across Multiple Sessions
Complex 3D builds can take several hours, and few people finish them in one sitting. Going in without a session plan leads to stopping mid-stage, leaving the build in a vulnerable half-assembled state, and losing track of where you were.
Review the instruction booklet and identify natural stopping points, usually at the end of a numbered stage or the completion of a self-contained sub-section. Decide before you start roughly how many sessions you expect and which stage you'll aim to reach in each one.
Reading ahead also protects the build physically. When you stop partway through a structural stage, sections can sit under tension, and that stress distorts or weakens joints over time. It's far better to finish a complete section before stepping away; the build holds its shape and stays stable.
Protect Your Work Surface
The base material of many 3D puzzle kits can scratch polished furniture and leave residue on glass surfaces. A foam mat or a sheet of thick felt beneath the build solves that problem entirely.
A mat does more than shield your table's surface. It stops pieces from sliding when you're pressing joints together, and that extra grip matters on complex builds where several firm, sequential presses are needed in a row. If the table's on the smaller side, treat the mat's edge as a hard boundary, anything outside it goes into a sorting tray, not loose on the table where it'll get lost or knocked away.
Keep a lint-free cloth nearby too. Fingerprints and dust on detailed surface sections are easier to remove as you go than after the build is complete.
Set Realistic Expectations for the Time Investment
Underestimating build time is one of the most common reasons people rush, force pieces, and end up with a damaged section. Before you start, look up the estimated build time stated on the packaging and treat it as a minimum, not a target.
Complex builds reward patience. A piece that doesn't slot in immediately should be set aside and returned to. Forcing it almost always means it's either the wrong piece or hasn't been approached from the correct angle. Many assembly errors come not from a misunderstanding of the instructions but from impatience in the final few centimetres of a connection.
Build in buffer time for sorting, checking the instructions, and the occasional frustrating detour. The finished model will reflect the care taken during the build, and a clear-eyed time estimate at the start makes that care much easier to maintain throughout.
Conclusion
These seven things to prepare before starting complex 3D puzzle builds don't guarantee a perfect outcome, but they strip away the avoidable obstacles that derail most ambitious attempts. A clean workspace, sorted pieces, studied instructions, the right tools, a session plan, surface protection, and honest time expectations, they all pull in the same direction. Get them right before you start, and the build itself becomes considerably more enjoyable.







[AD] Struggling for storage in small bedrooms? Find out amazing solutions that help you store your accessories without taking up much floor space.